User Guide
For Turbx Prism Shift
Quick Starter | Get Help | Warranty
Why Register Your Product Warranty?
Faster Support Resolutions
Registering your product with us means faster resolutions for your queries as we’ll have quick access to your product info.
Feedback and Get Rewarded
We welcome opinions and appreciate your feedback regarding your registered product - share with us and opt in chance to get rewarded.
Be in the Know
Stay updated and get informed on the latest promotions and software updates.
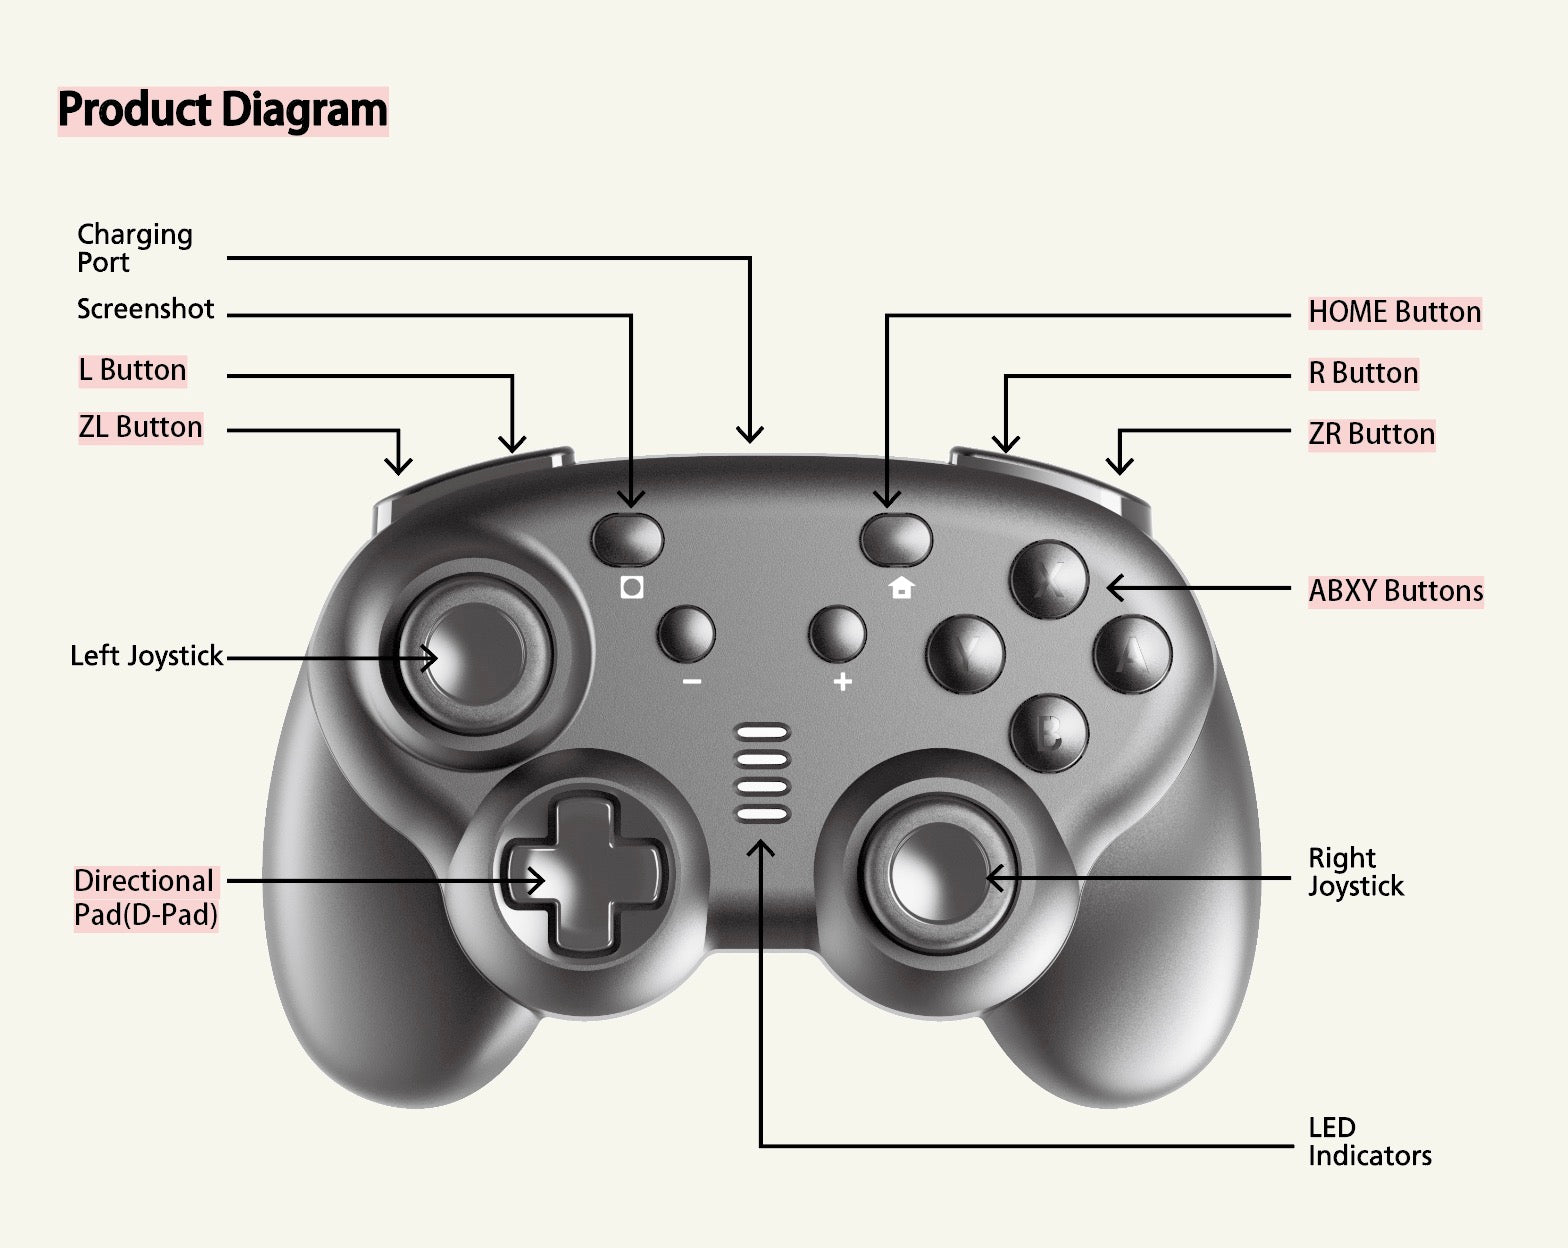
What's On Your Controller
This is a user manual for the turbx prism shif
Quick Starter Guide
Find the gaming device you want to connect
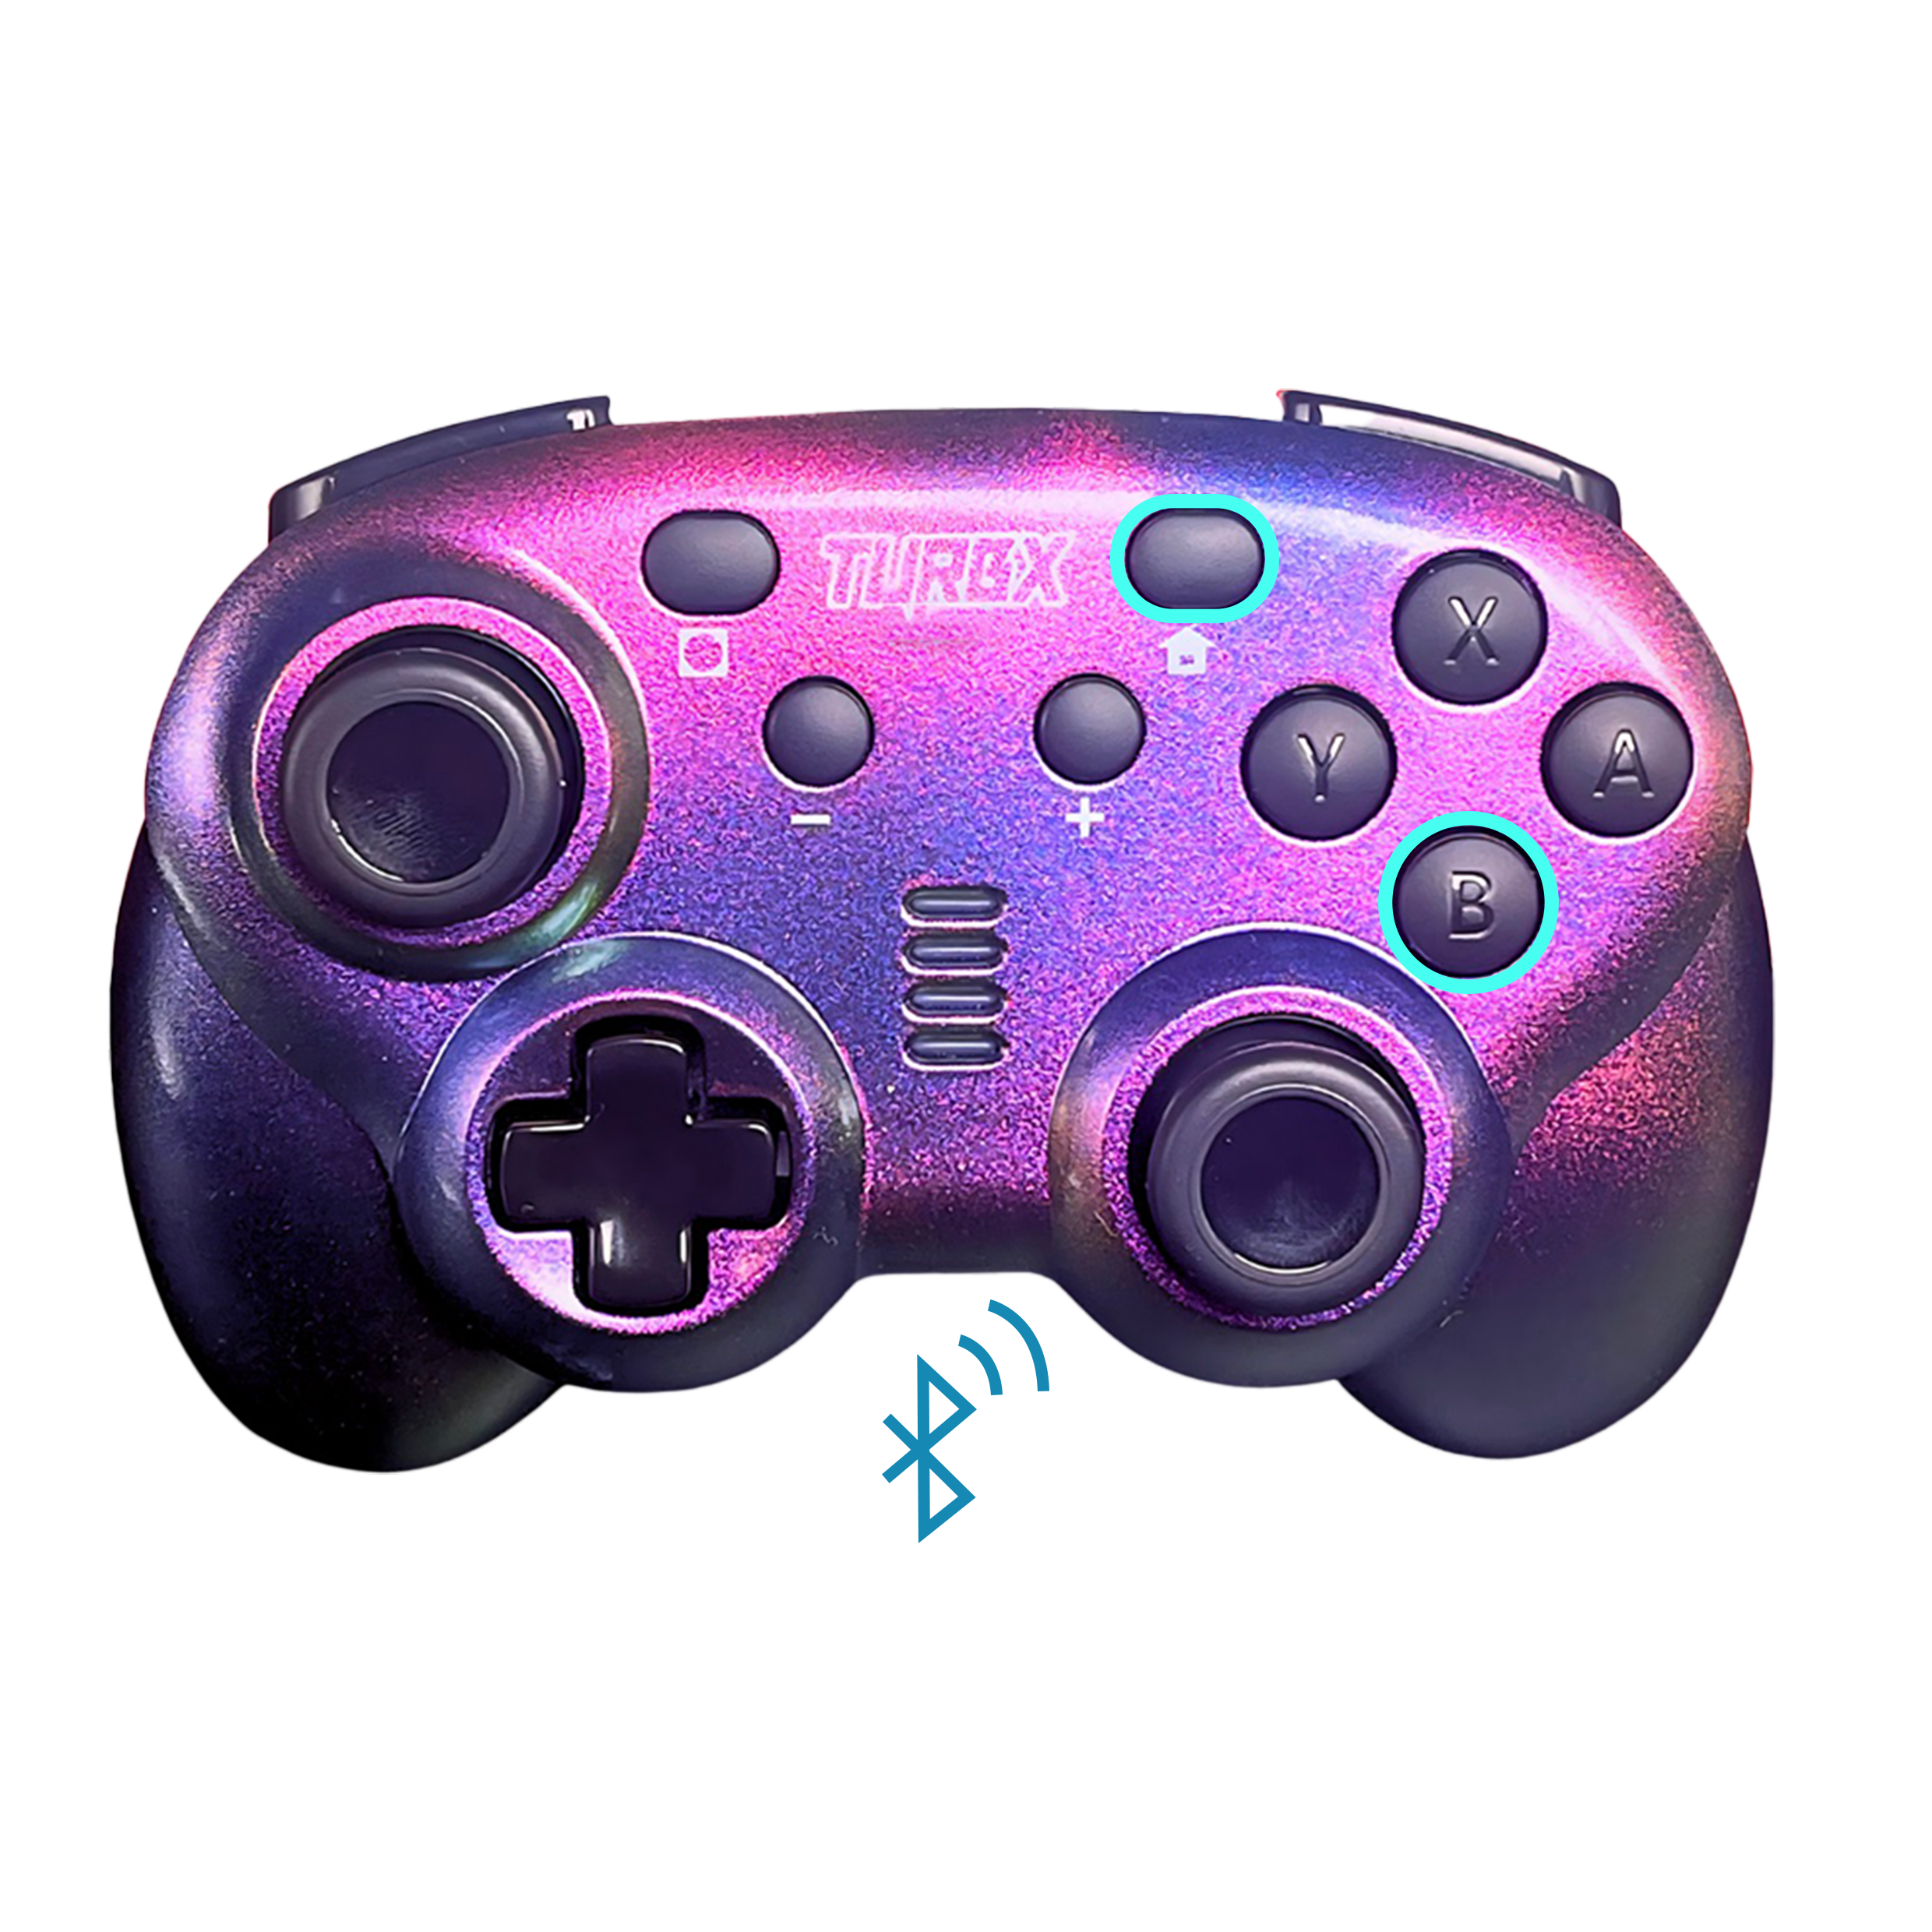
iOS Wireless Connect (This function only applies to mode Mini-01-B)
- Go to Bluetooth setting on your iOS device. Simultaneously press and hold the B button + HOME button on the controller for 3 seconds to enter the pairing mode. The four channel indicator lights from top to bottom flash in a flowing state.
- Within two minutes, the LED indicator lights on the controller stay on constantly (■■■■), indicating successful connection.
- Bluetooth name: Xbox Wireless Controller.
- Note: If the controller fails to connect to the device within 2 minutes, it will automatically enter standby mode. Simply press and hold the B + HOME buttons for 3 seconds to wake up the controller and pair it with the device again.

Steam Deck Wireless Connect (This function only applies to mode Mini-01-B
- Go to Bluetooth setting on your Steam Deck. Simultaneously press and hold the B button + HOME button on the controller for 3 seconds to enter the pairing mode. The four channel indicator lights from top to bottom flash in a flowing state.
- Within two minutes, the LED indicator lights on the controller stay on constantly (■■■■), indicating successful connection.
- Bluetooth name: Xbox Wireless Controller.
- Note: If the controller fails to connect to the device within 2 minutes, it will automatically enter standby mode. Simply press and hold the B + HOME buttons for 3 seconds to wake up the controller and pair it with the device again.

PC Wireless Connect (This function only applies to mode Mini-01-B)
- Go to Bluetooth setting on your PC device. Simultaneously press and hold the B button + HOME button on the controller for 3 seconds to enter the pairing mode. The four channel indicator lights from top to bottom flash in a flowing state.
- Within two minutes, the LED indicator lights on the controller stay on constantly (■■■■), indicating successful connection.
- Bluetooth name: Xbox Wireless Controller.
- Note: If the controller fails to connect to the device within 2 minutes, it will automatically enter standby mode. Simply press and hold the B + HOME buttons for 3 seconds to wake up the controller and pair it with the device again.
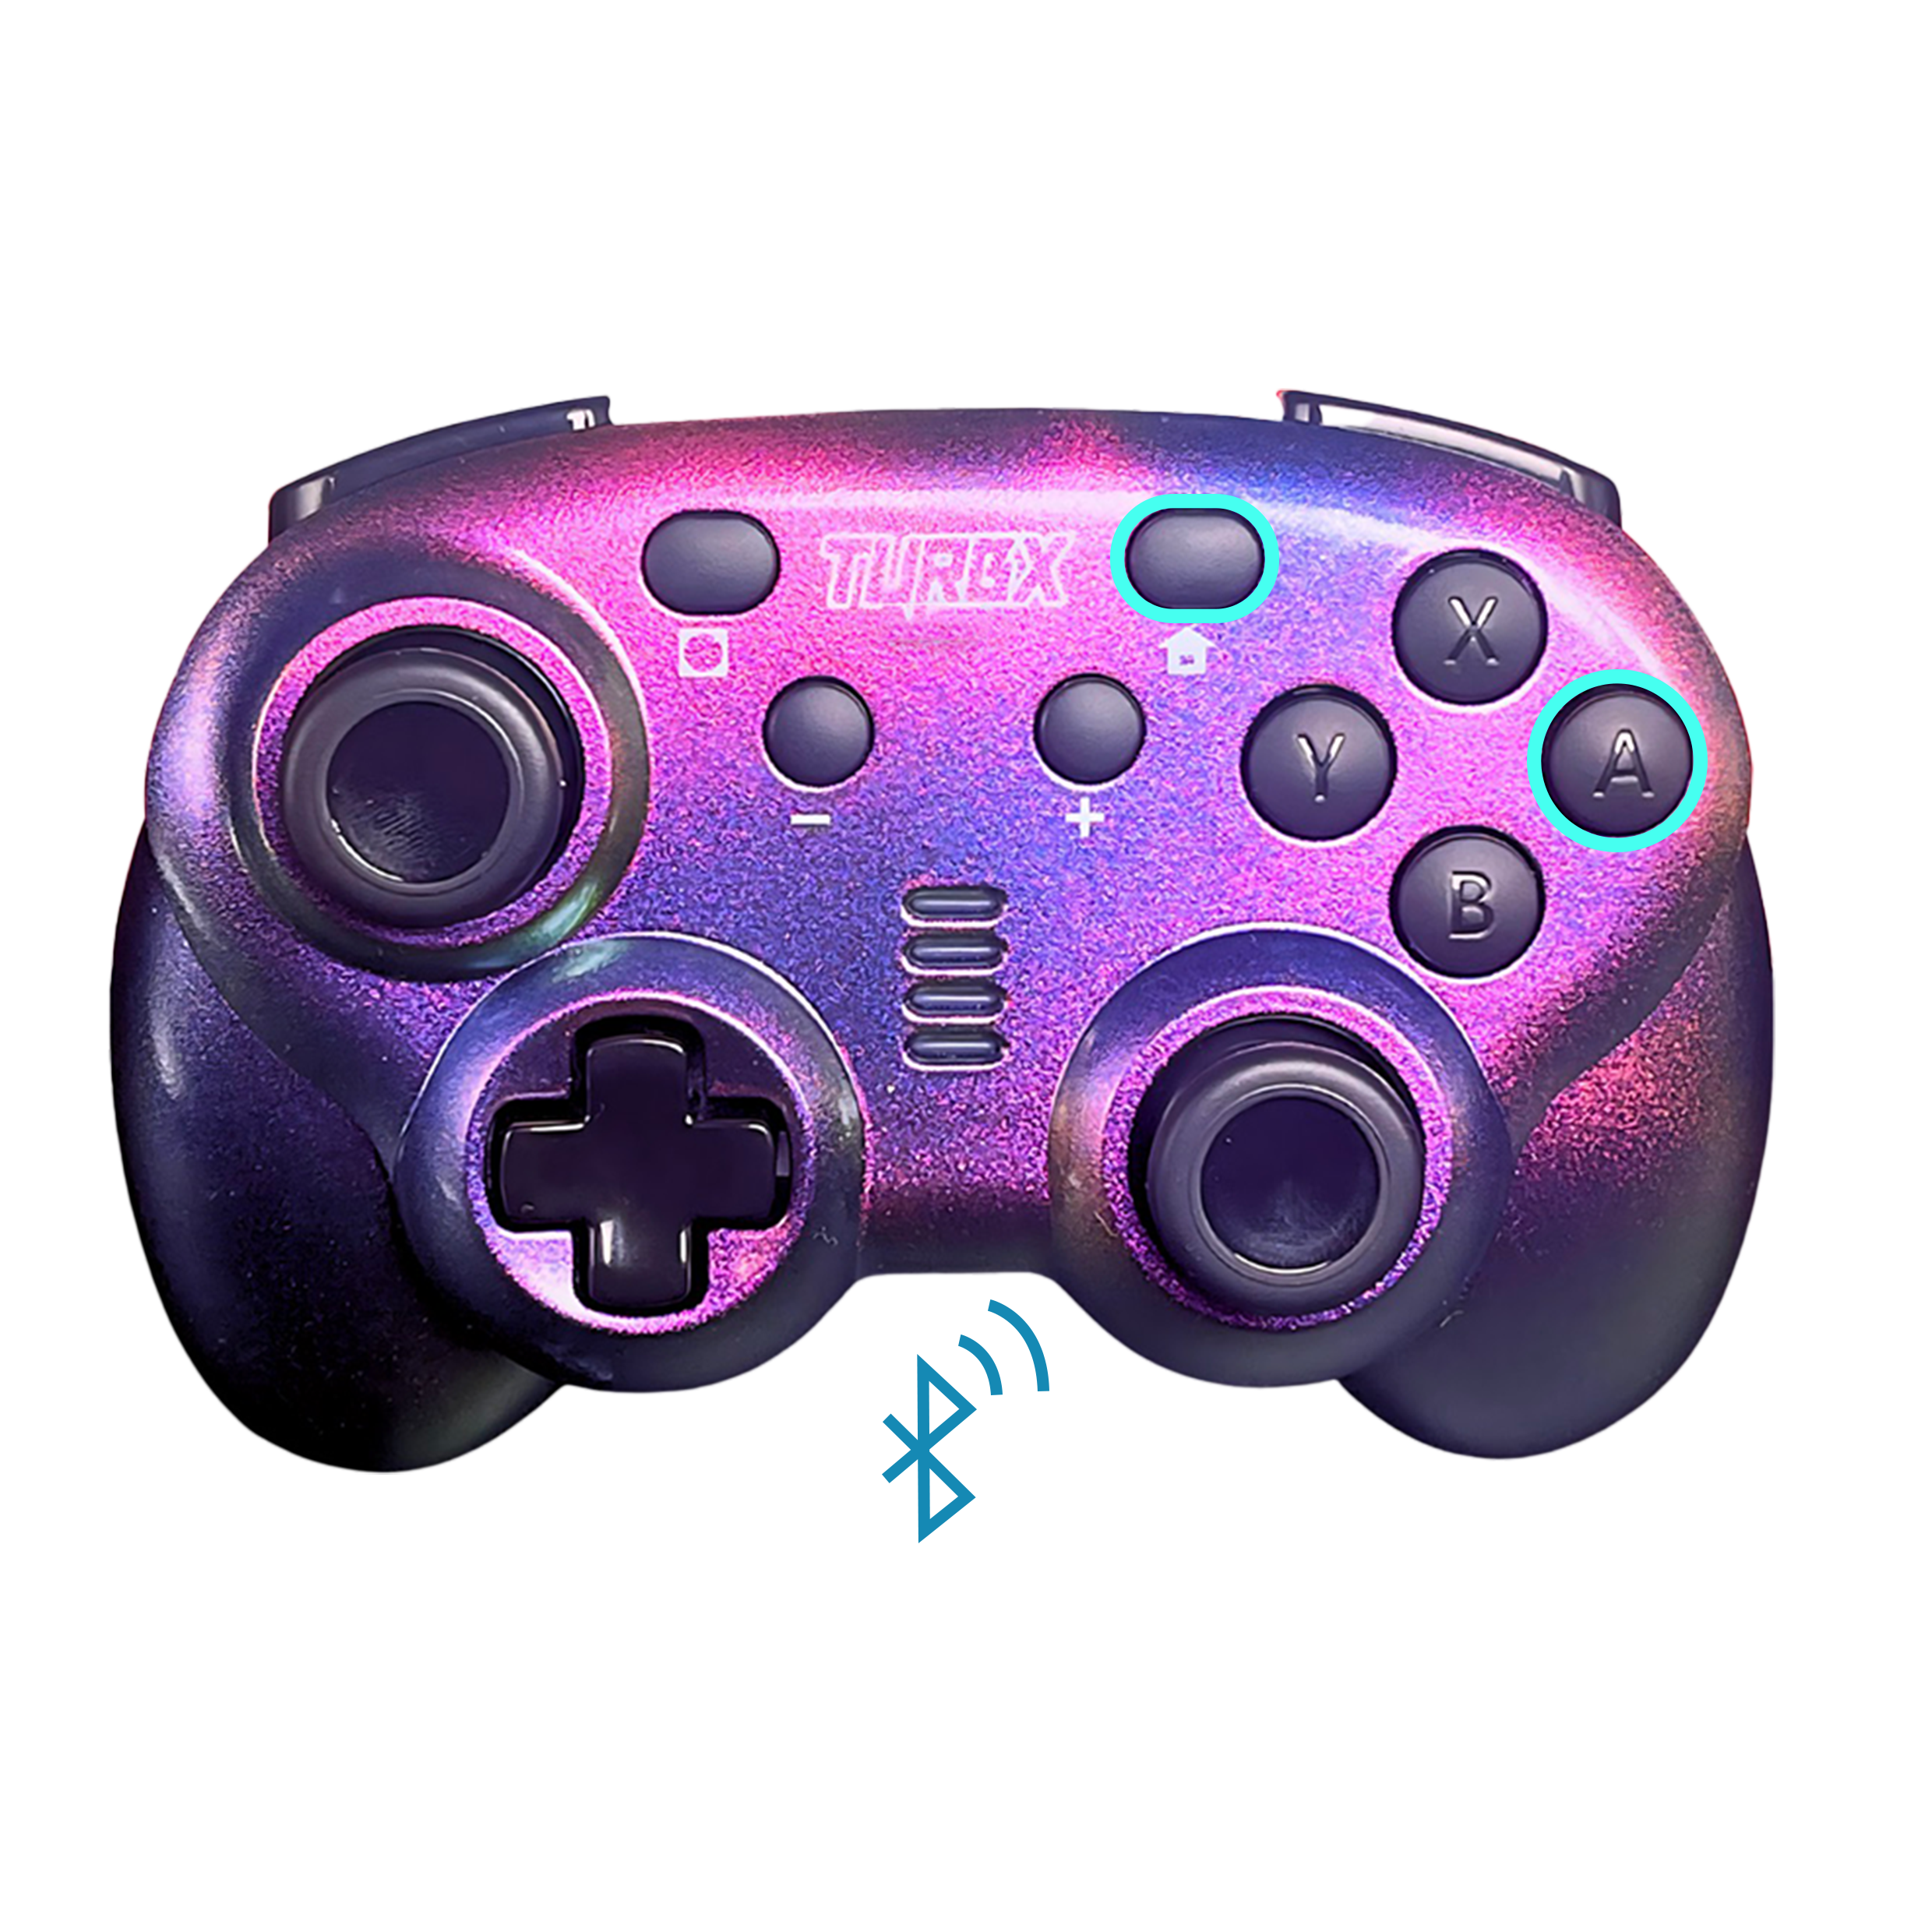
Android Wireless Connect (This function only applies to mode Mini-01-B)
- Go to Bluetooth setting on your Android device. Simultaneously press and hold the A button + HOME button on the controller for 3 seconds to enter the pairing mode. The four channel indicator lights from top to bottom flash in a flowing state.
- Within two minutes, the first light on LED indicator stays on constantly (■□□□),indicating successful connection.
- Bluetooth name: TurbX MINI Controller.
- Note: If the controller fails to connect to the device within 2 minutes, it will automatically enter standby mode. Simply press and hold the A + HOME buttons for 3 seconds to wake up the controller and pair it with the device again.
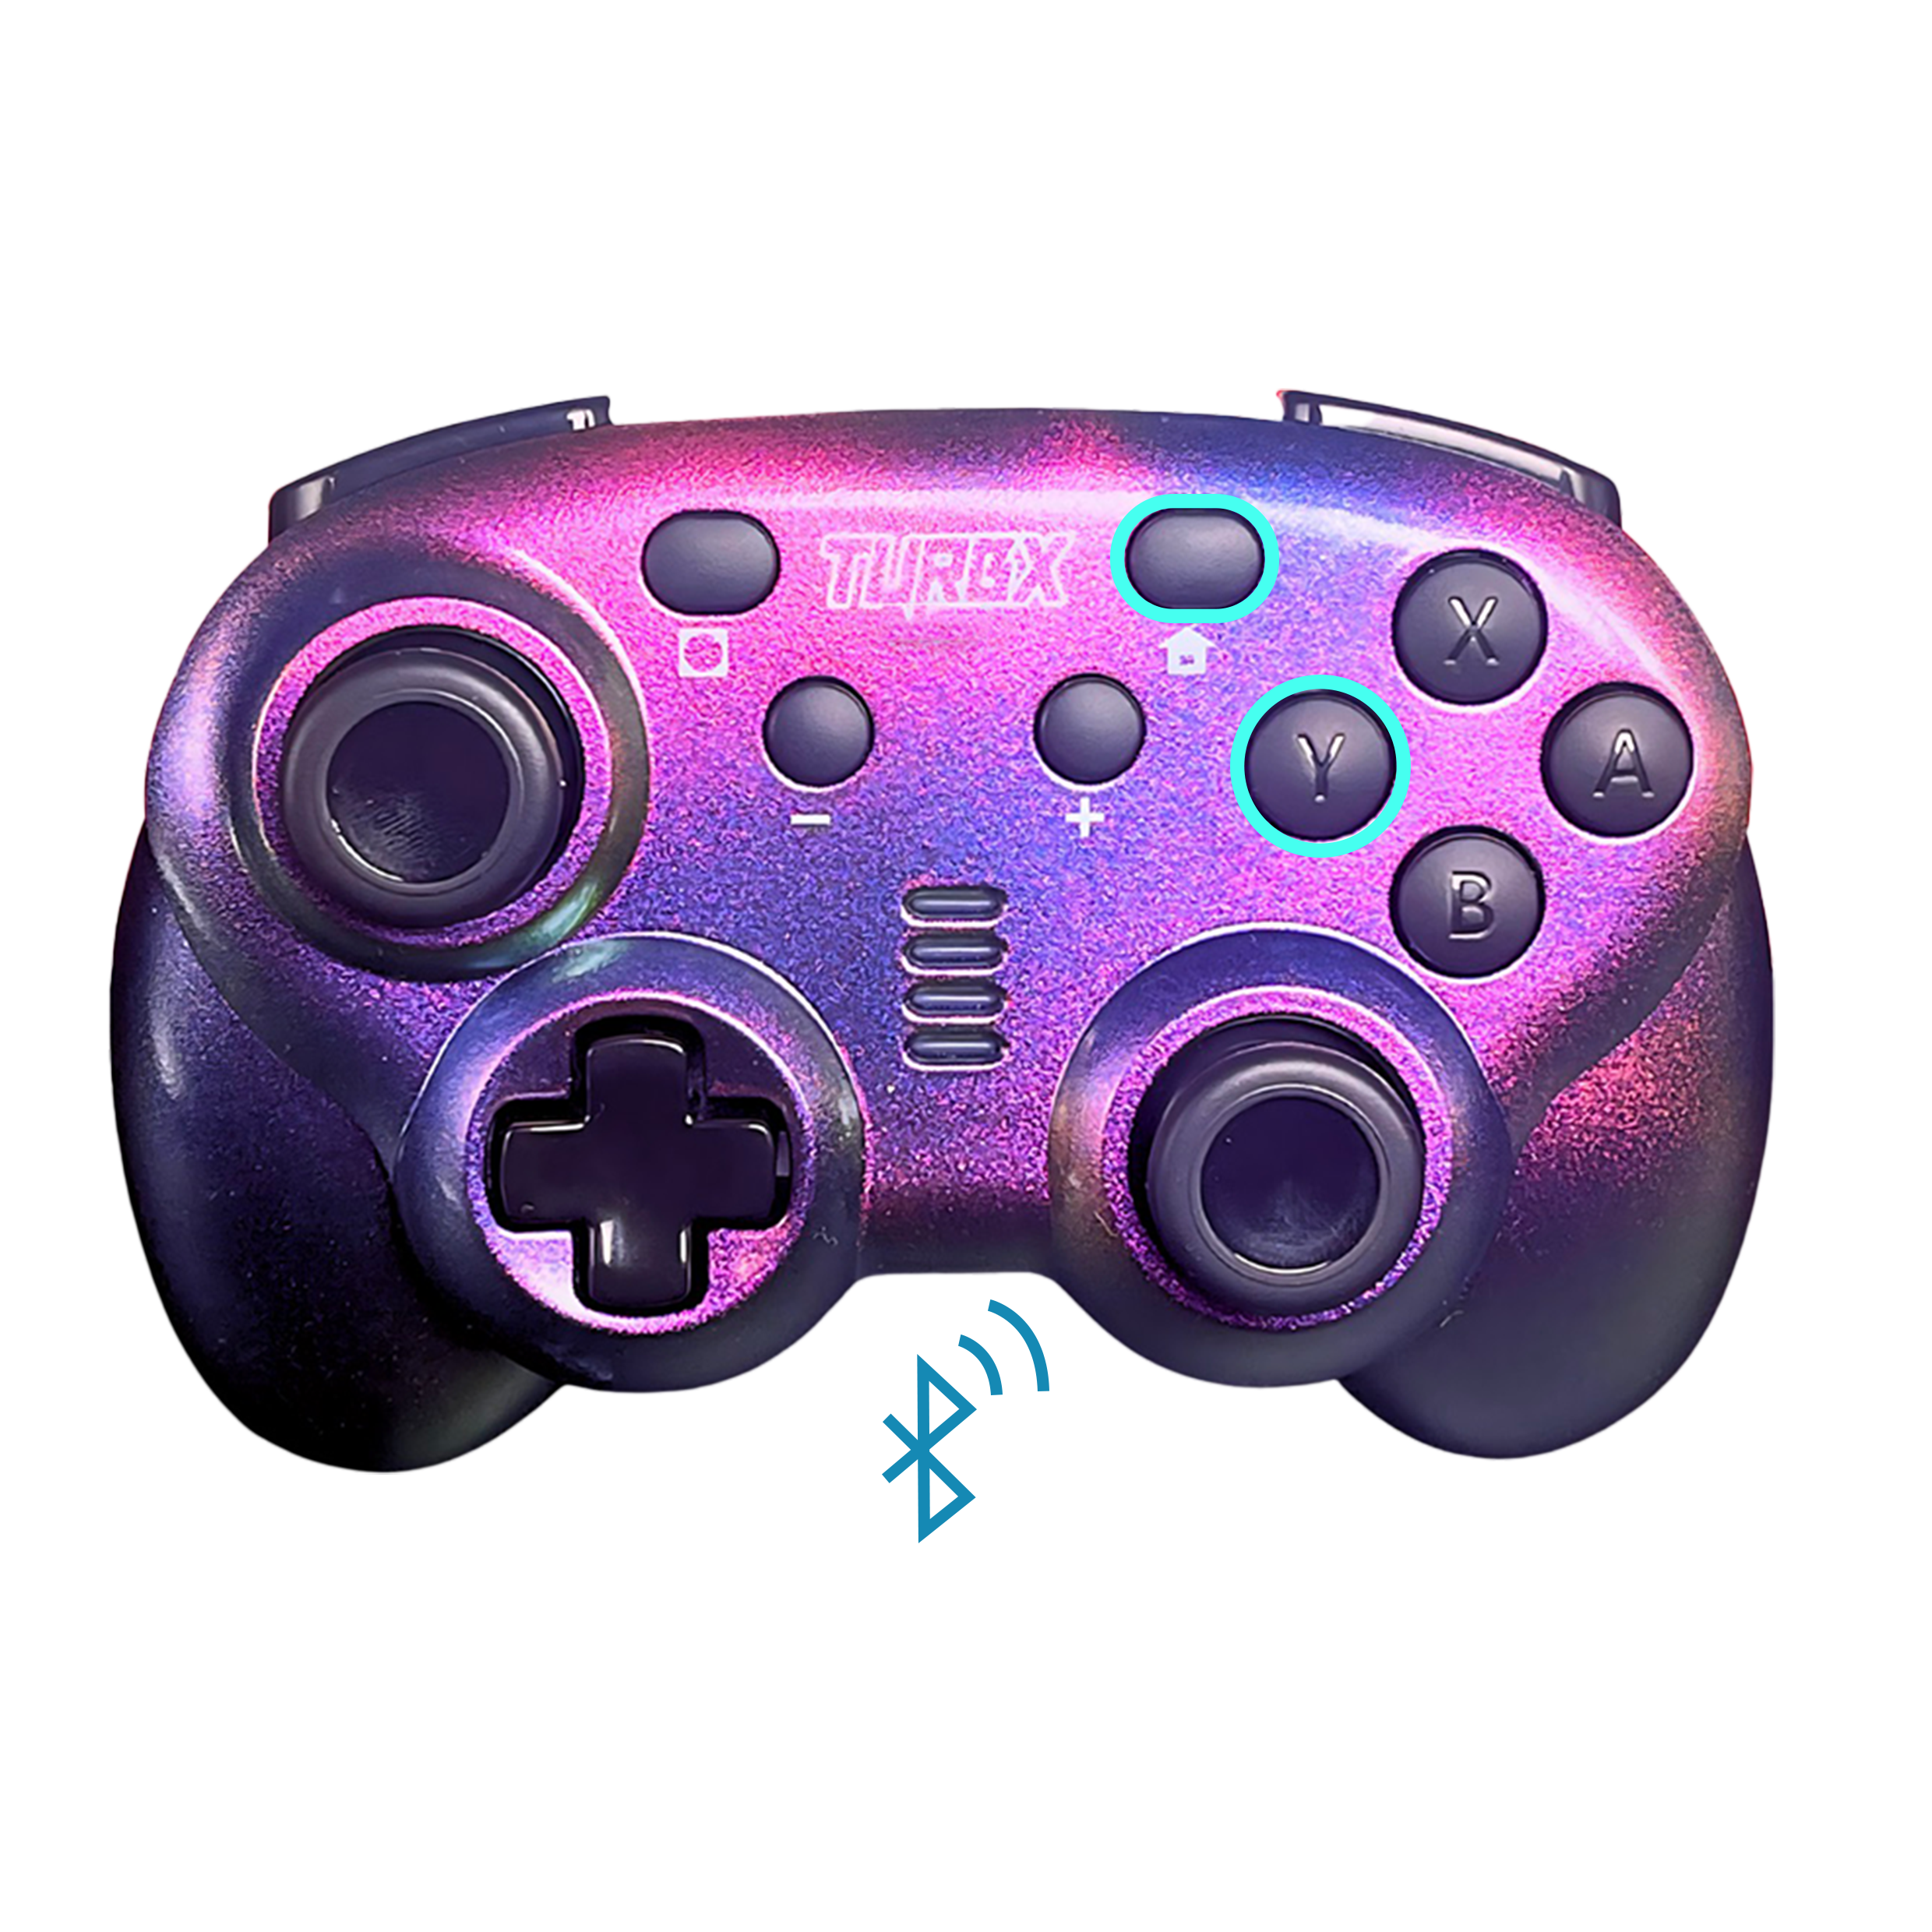
Nintendo Switch (Use Bluetooth)
- Ensure the controller is fully charged before connecting.
- Turn on the Switch console. On the Switch console menu screen, select "Controllers."
- Choose the "Change Grip/Order" option.
- Simultaneously press and hold the Y + HOME buttons on the controller for 3 seconds to enter pairing mode. The four channel indicator lights will run in a marquee pattern, and within two minutes, only one or a few LED lights will stay on, indicating successful connection (channel lights assigned by SWITCH console).
- Once the controller is successfully connected to the console, the controller's icon will appear on the Switch console screen. Press the A button to confirm. Press the B button to return to the main page for gameplay.
- Note: If the controller fails to connect to the console within 2 minutes, it will automatically enter standby mode. Simply press and hold the Y + HOME buttons for 3 seconds to wake up the controller and pair it with the console again.
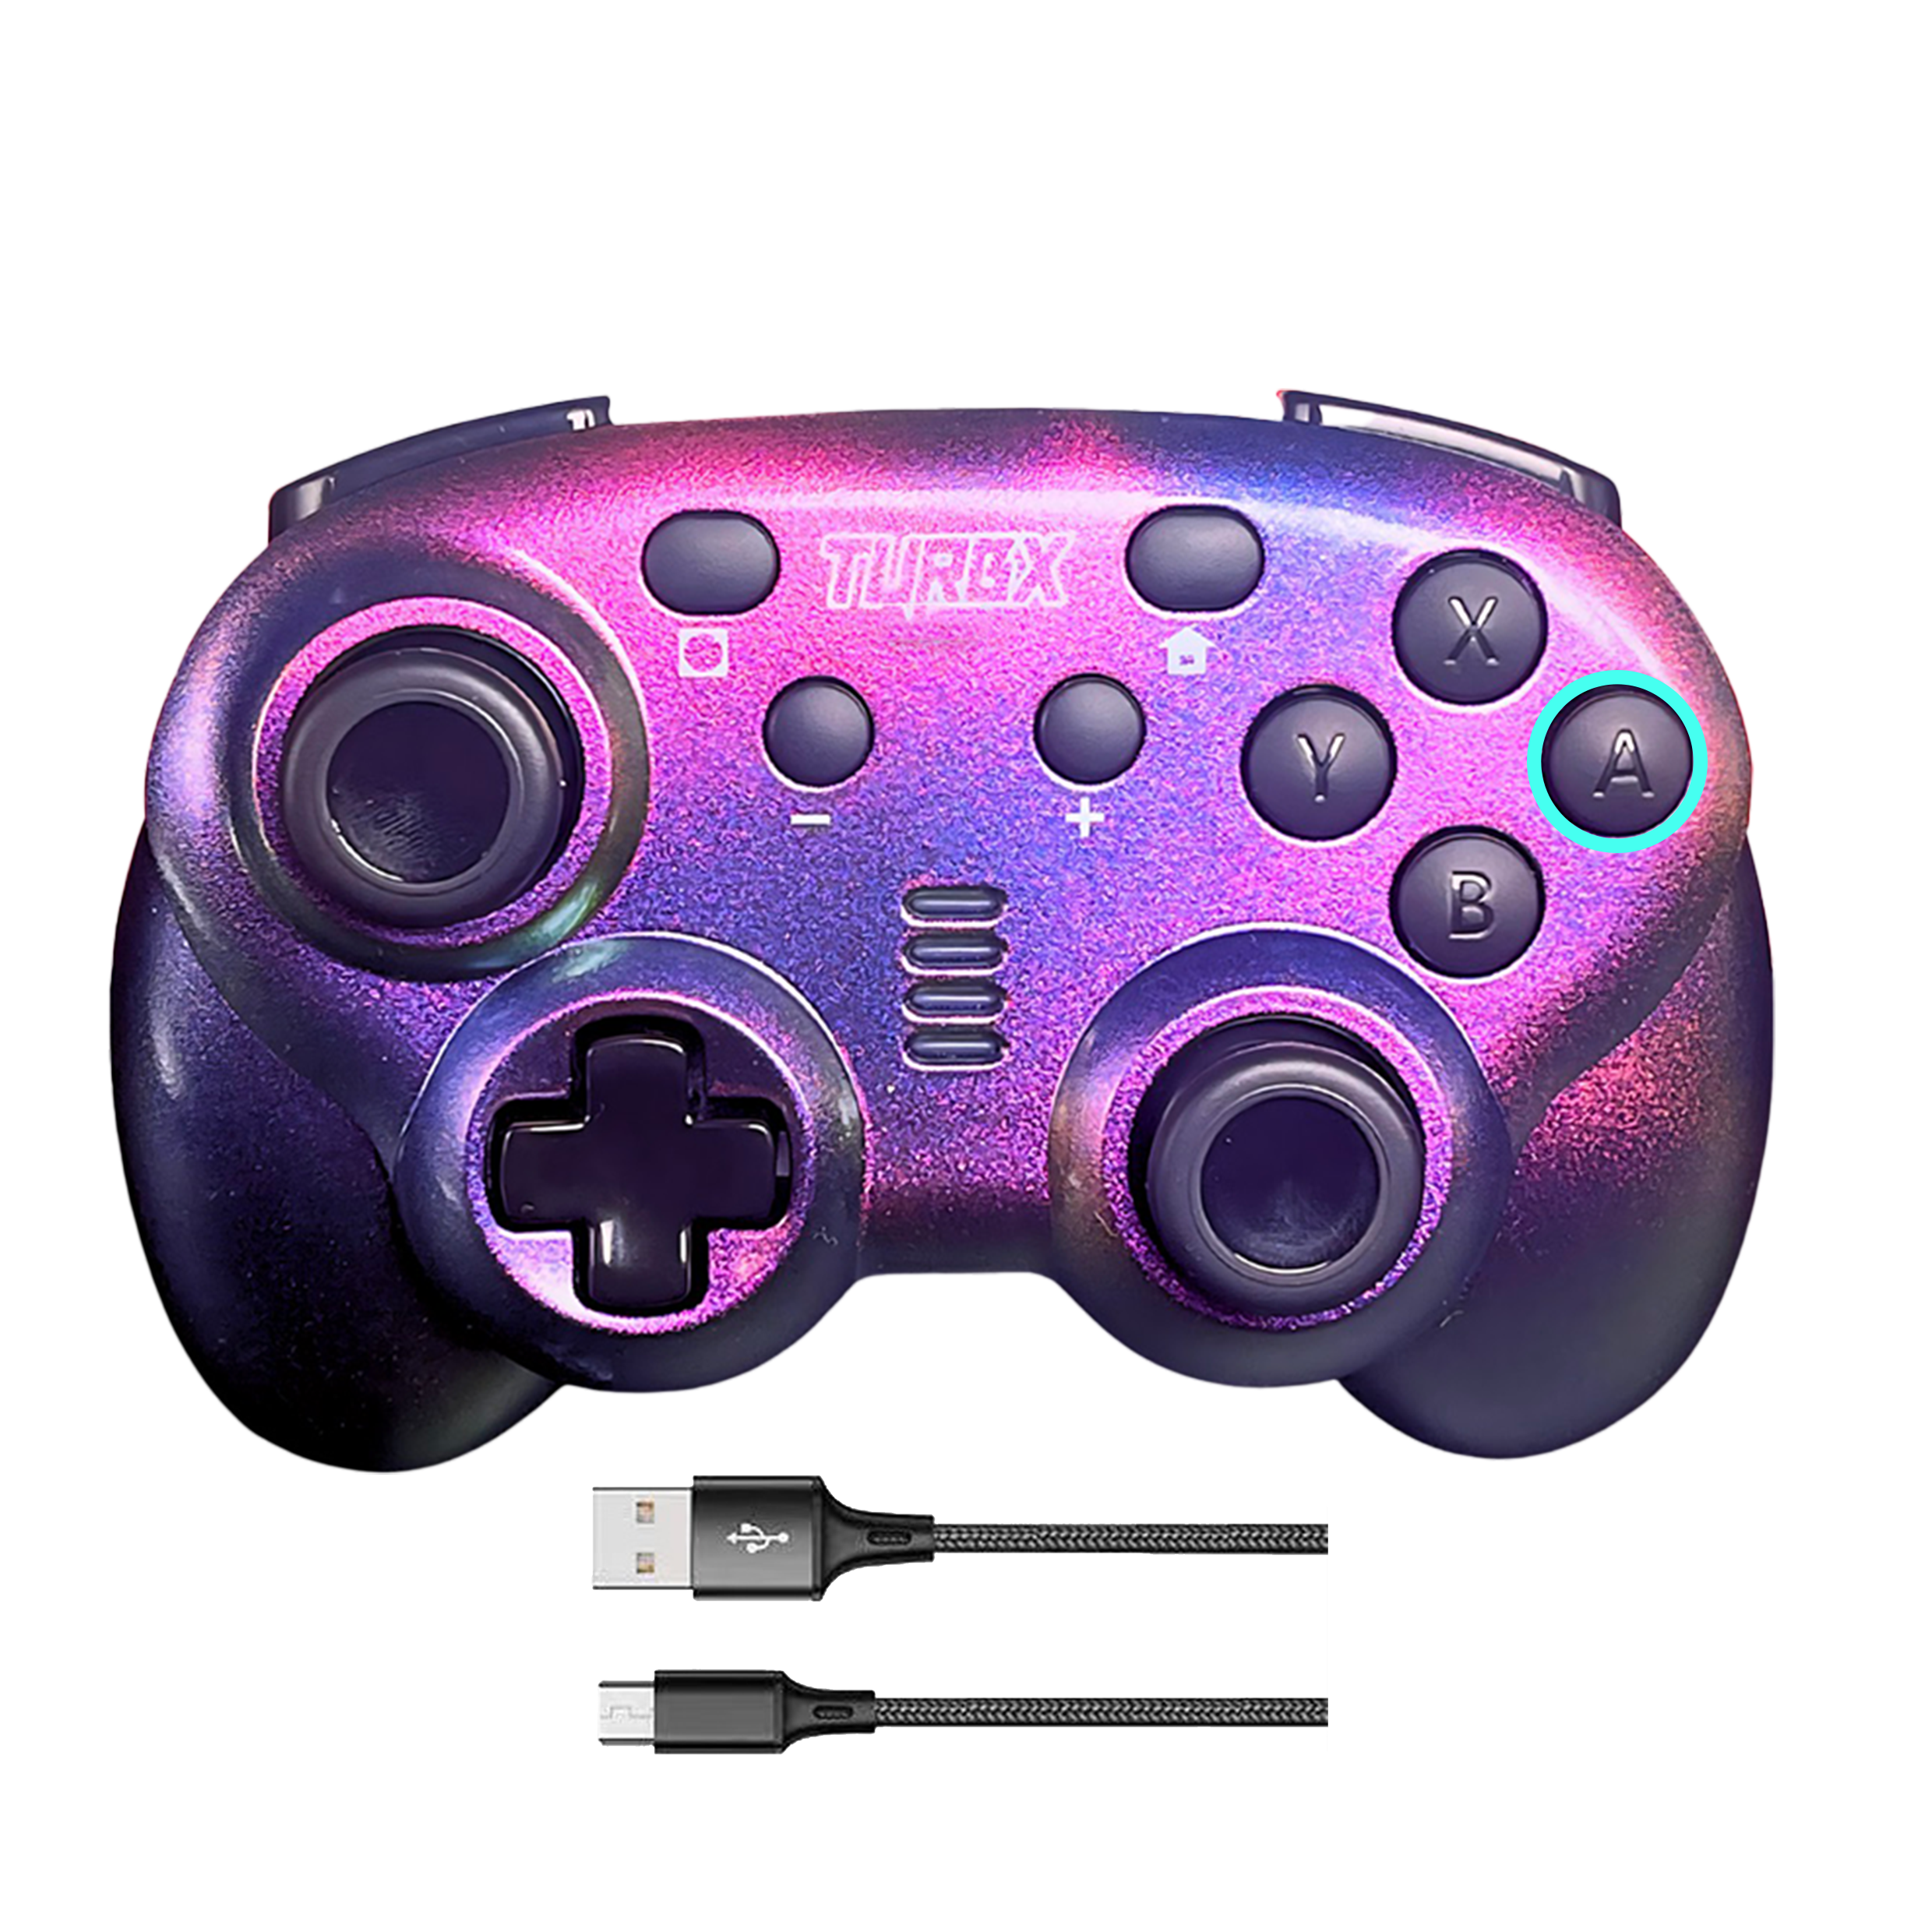
Nintendo Switch (Using OTG Cable)
- Turn on the SWITCH console power switch and wait for the main interface to appear.
- Select "System Settings" and then "Controllers and Sensors".
- Set the "Pro Controller Wired Communication" switch to "ON".
- Connect the controller's USB cable to the USB port of the OTG cable.
- Press the A button on the controller to confirm. Once successfully connected, the SWITCH console will assign the controller to the blue channel, and the corresponding LED light will stay on for gameplay.
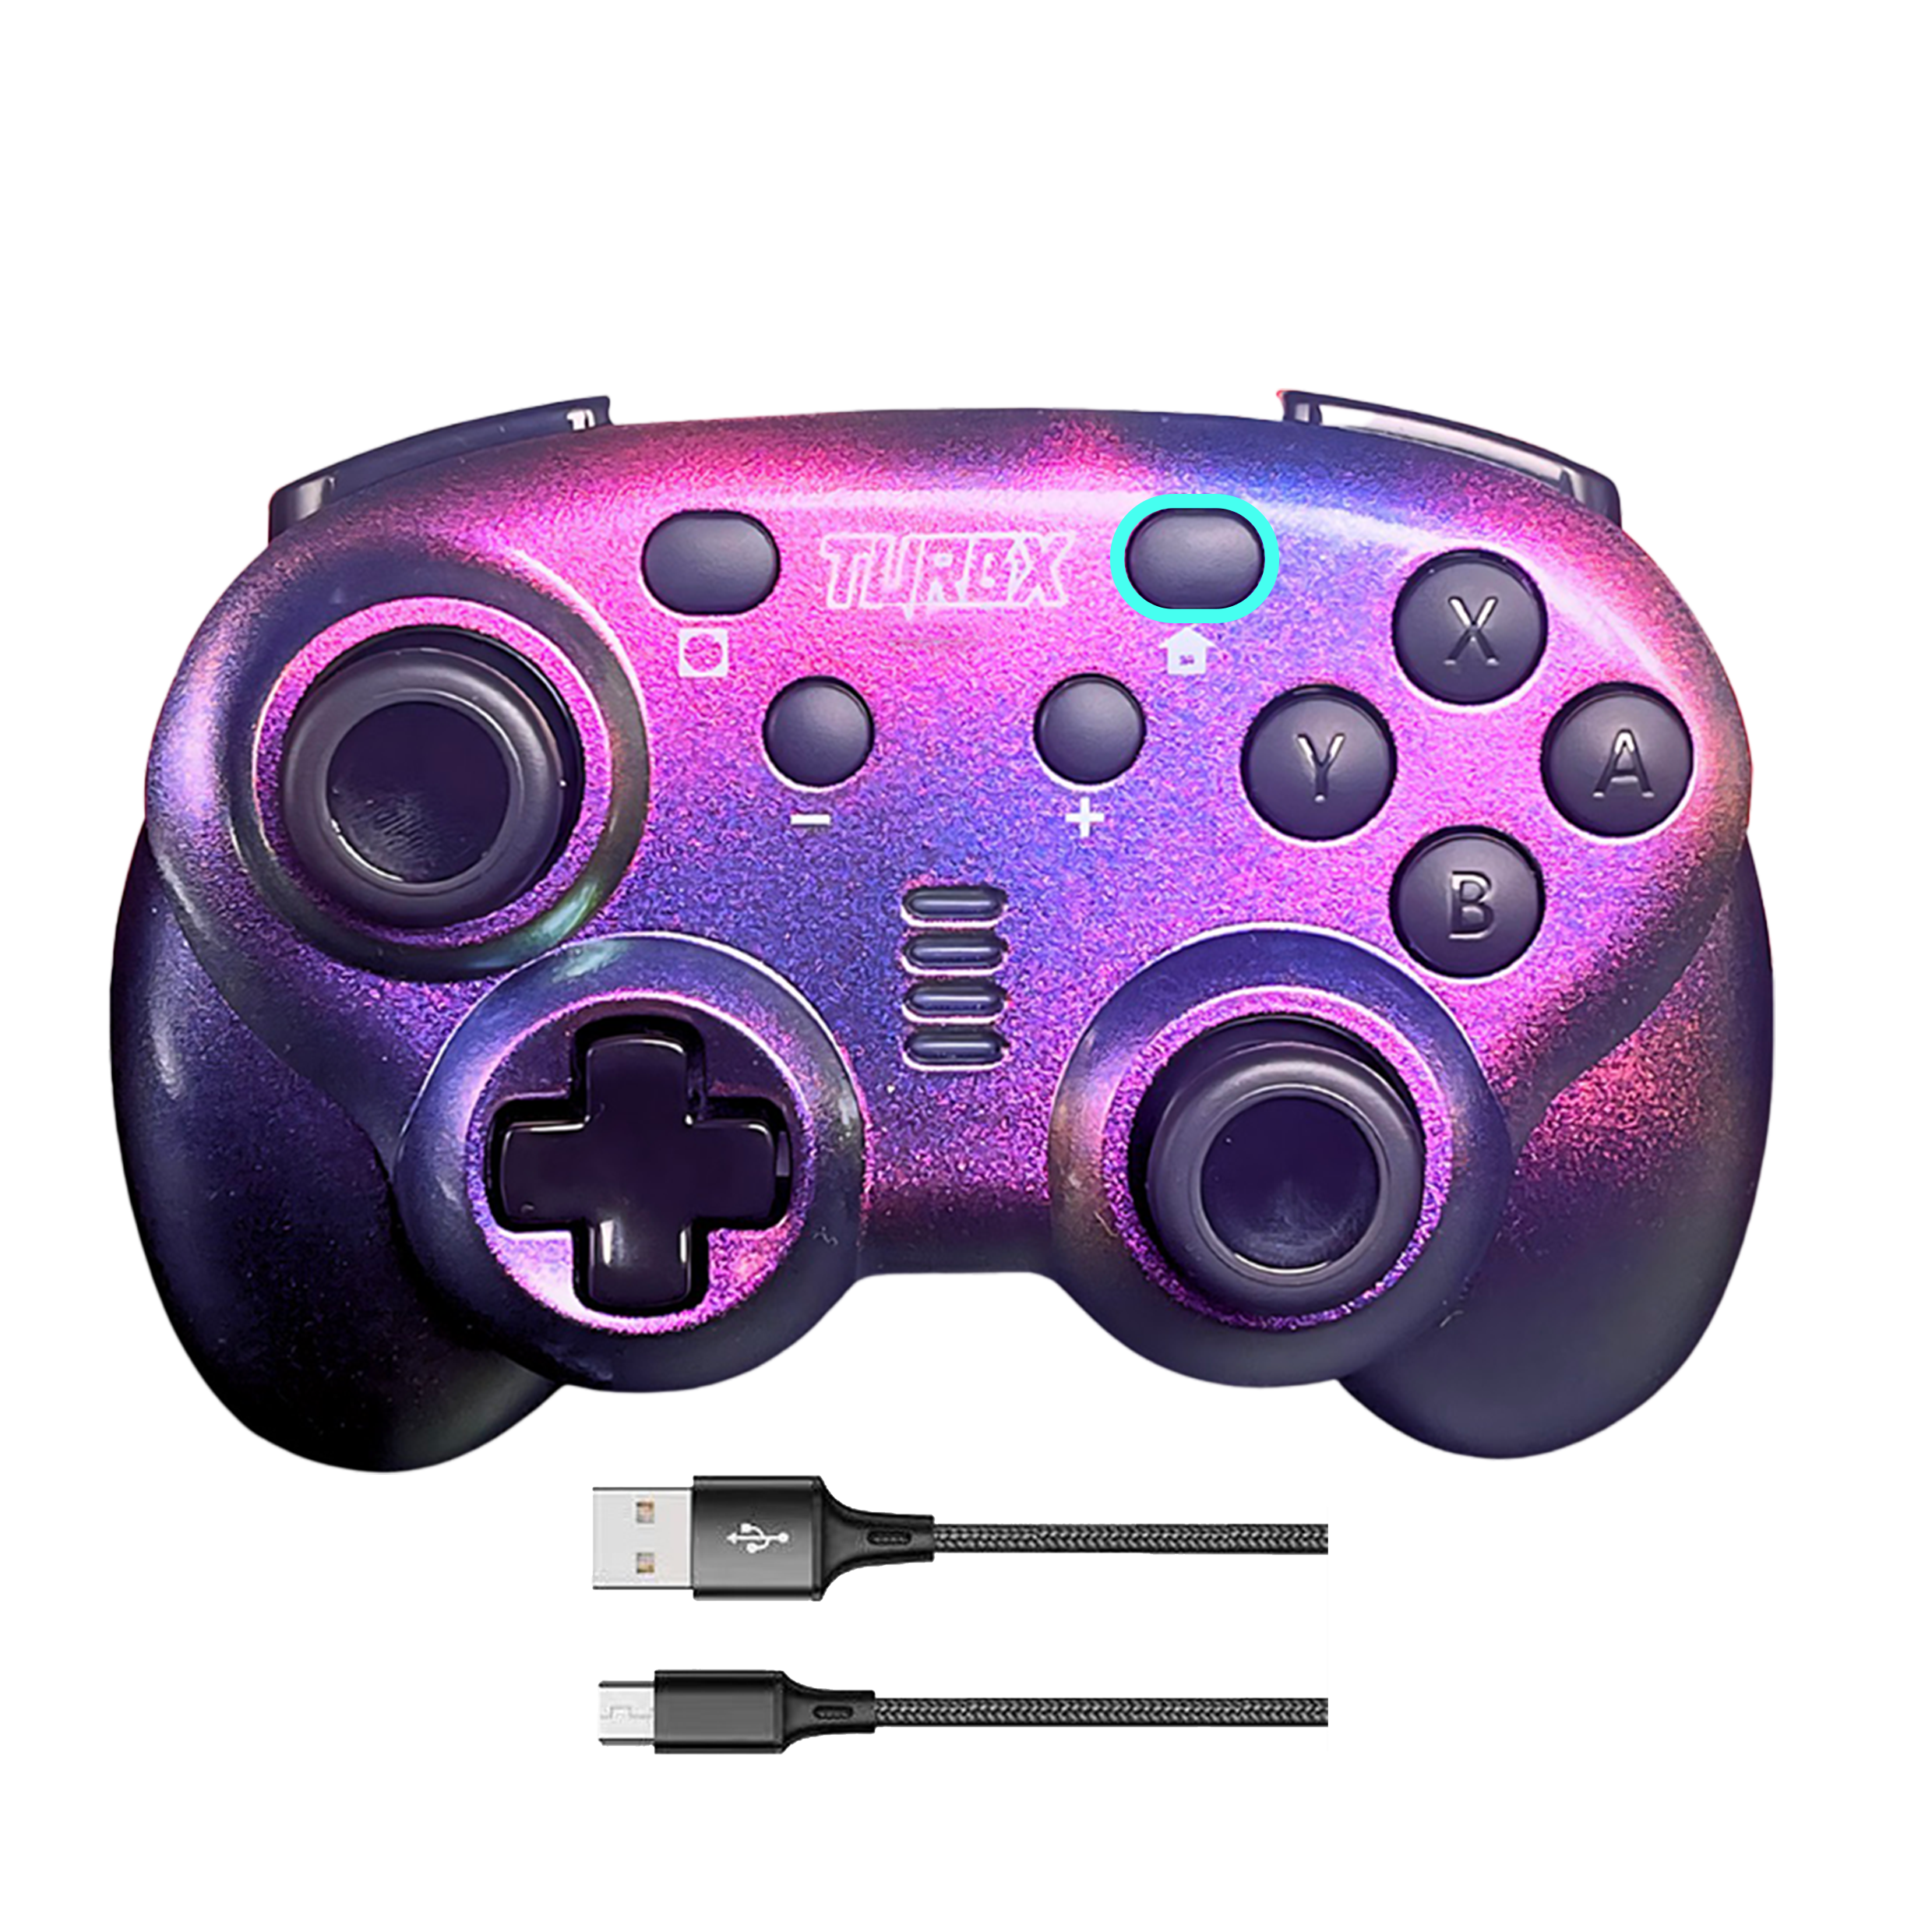
Wired PC Connection (PC does not support wireless Bluetooth connection)
- Insert the controller into an available USB port on a Windows PC. Wired connection supports XINPUT/DINPUT modes, switchable by holding the HOME button for 5 seconds, supporting dynamic switching without re-plugging the controller's USB cable and remembering the mode before plugging and unplugging.
- PC XInput Mode: Channel lights LED1 and LED2 stay on ■■□□
- PC DirectInput (Simulation Mode): Channel lights LED2 and LED3 stay on□■■□
- PC DirectInput (Digital Mode): Channel lights LED1 and LED3 stay on■□■□
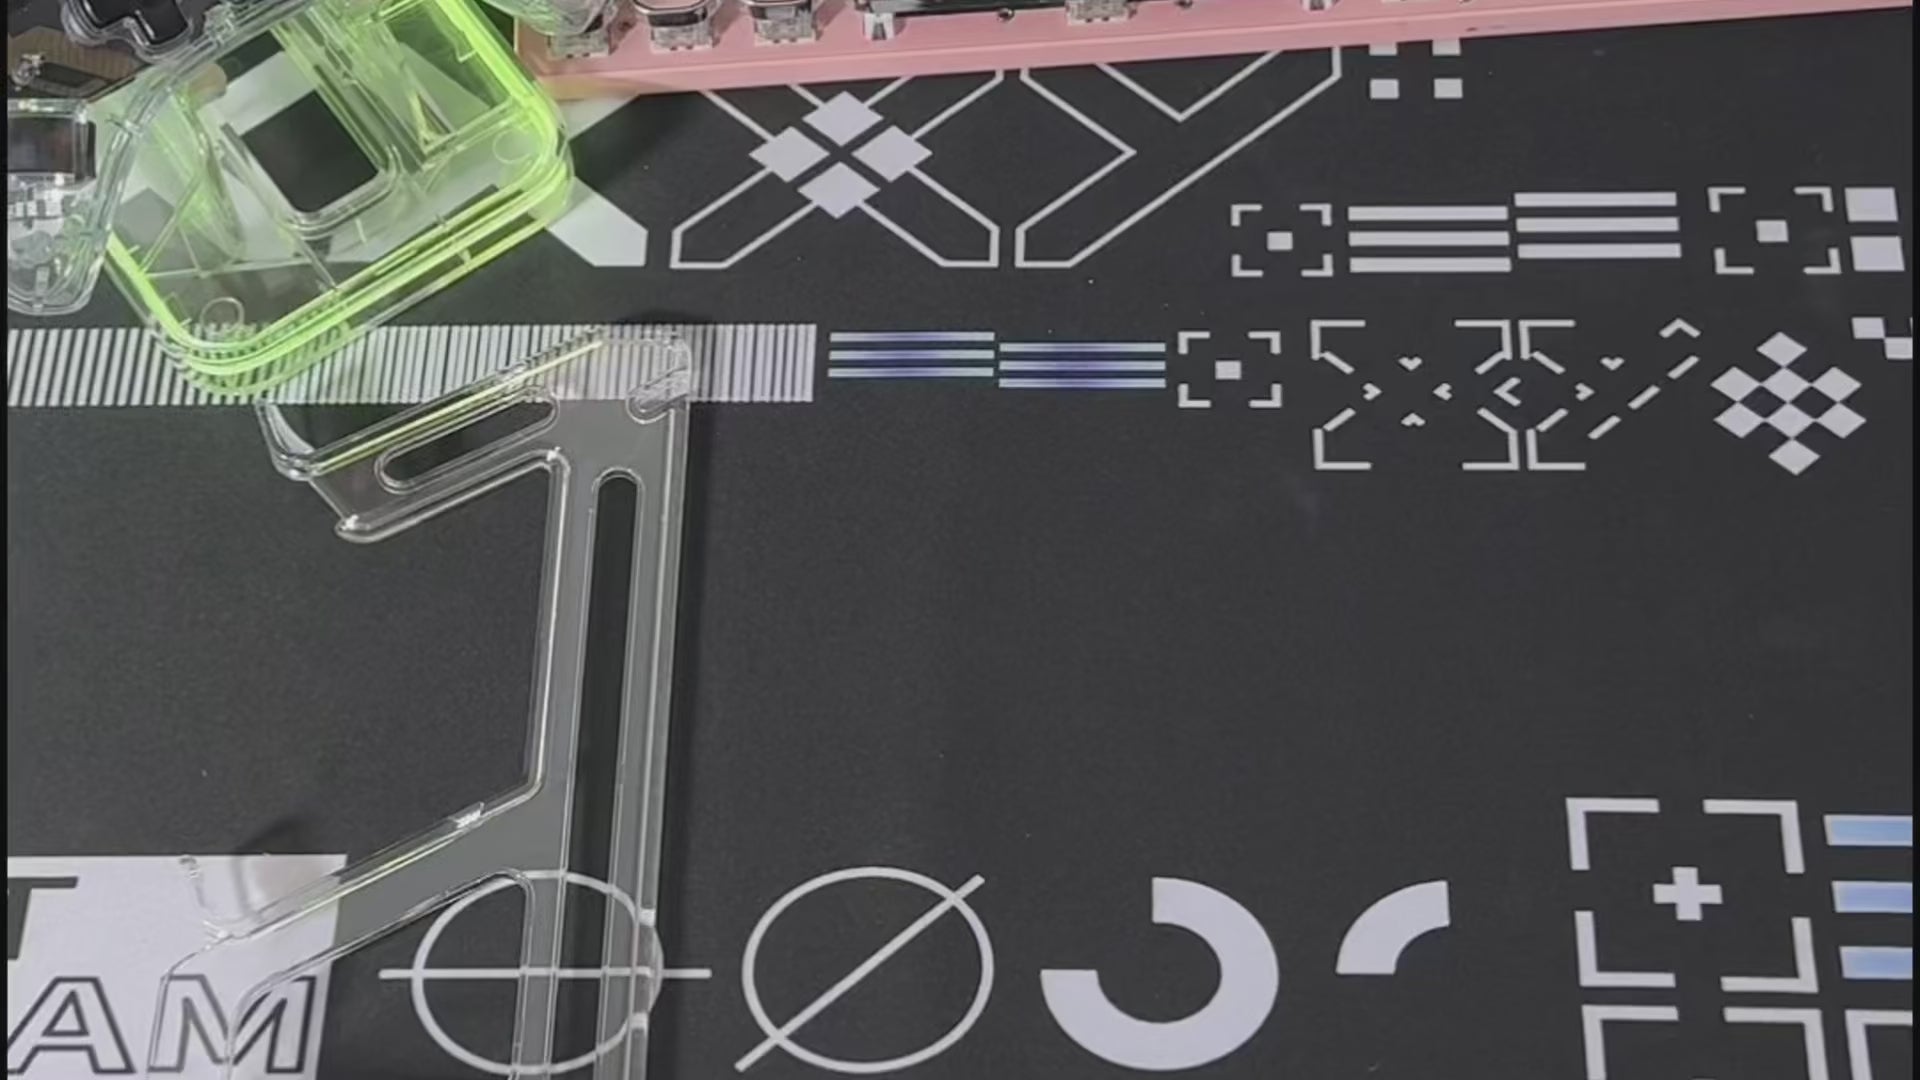
Charging Rack Installation Tutorial
Functions & Features
Charge Your Controller
* Charging (Controller Connected): The current controller's LEDindicators flash normally.
* Charging (Controller Not Connected): All controller LED indicatorsflash normally.
* Low Battery Level (Controller Connected): All controller LEDindicators flash slowly.
Sleep / Wake / Shutdown
Hold the power button for 5 seconds to turn off the wireless controller.
Hold the power button for 3 seconds to turn on the wireless controller.
The controller will automatically enter sleep mode after 5 minutes ofinactivity or failed reconnection attempts to save power. Hold theHOME button for 3 seconds to exit standby mode.
Trouble Shooting
The meaning and solution of different lights
Low Battery (controller synchronized): Current player LED blinks slowly.
What should I do if the link doesn't work
删除手机、pc、switch等游戏设备上的连接记录,重新连接。
What should I do if I lose control of the rocker
a.让左右摇杆回到中间无触碰的位置,然后按住HOME键5秒,关闭手柄。
b.让左右摇杆回到中间无触碰的位置,然后按住HOME键3秒,重启手柄,重置左右摇杆。
Troubleshooting tips
If the wireless controller fails to operate or operates incorrectly, please follow the steps below before seeking assistance:
*Verify the controller and console are both powered on.
*Verify the controller is within operating distance of the console.
*Verify the battery of the controller is fully charged.
*Verify the controller has been properly synchronized with the console.
Other problems and solutions
If, after verifying the steps above, the wireless controller still does not work correctly, please try the following:
*Turn the Nintendo Switch console power off.
*Wait for 30 seconds and then turn the console power on.
*Press the RESET button on the back of the wireless controller to reset the controller.
*Wait for 10 seconds and then resynchronize the controller with the console.
Contact Us
Need Help?
We will response within 24 hours.
